If you've been told you need a root canal, I understand the anxiety. There's a lot of outdated fear around this procedure — but I can tell you from performing hundreds of them: a modern root canal is genuinely comfortable, and most patients are surprised by how smooth it goes. Let me walk you through exactly what happens.
Before Your Appointment
You don't need to do anything special to prepare. Eat a normal meal beforehand (you won't be able to eat comfortably for a couple of hours after due to the freezing). If you're feeling nervous, that's completely okay — let us know and we'll take extra time to make sure you're relaxed.
Step 1: Numbing the Area
The first thing I do is make sure you're completely frozen. I use a topical gel on the gum first so you barely feel the anaesthesia injection. We wait until the area is fully numb before doing anything else. If at any point during the procedure you feel discomfort, we stop and add more freezing. You should feel pressure — never pain.
Step 2: Isolating the Tooth
We place a small rubber sheet (called a dental dam) around the tooth. This keeps the area dry and clean during the procedure. It also means you don't have to worry about any debris — everything is contained. Most patients actually find the dam makes the experience more comfortable because they can relax their jaw.
Step 3: Accessing the Nerve
I create a small opening in the top of the tooth to access the pulp chamber — the hollow space inside where the nerve lives. This is done with a dental drill, but because you're fully frozen, you'll only hear the sound and feel some vibration. No pain.
Step 4: Removing the Infected Tissue
Using very thin, flexible instruments called files, I carefully remove the infected or damaged nerve tissue from inside the tooth and its root canals. I also clean and shape the canals to prepare them for filling. This is the most time-consuming step, and I take my time to do it thoroughly. Rushing this step leads to problems later — so we don't rush.
Step 5: Filling and Sealing
Once the canals are clean and shaped, I fill them with a biocompatible rubber-like material called gutta-percha and seal the tooth with a temporary or permanent filling. This prevents bacteria from re-entering the tooth.
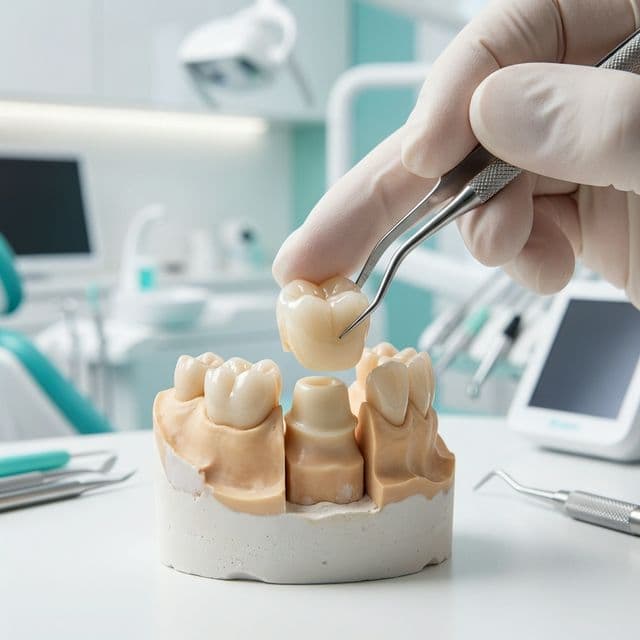
Step 6: The Crown (Usually a Separate Visit)
For back teeth (molars and premolars), we typically recommend a crown to protect the tooth from fracture. This is done at a follow-up appointment. Front teeth can sometimes be restored with a filling alone. We'll discuss what's best for your specific tooth.
How Long Does It Take?
Most root canals take between 60 and 90 minutes. Some teeth (especially molars with multiple roots) may need a second visit. We'll let you know upfront what to expect for your case.
The Honest Truth
The vast majority of my root canal patients tell me afterward: "That was way easier than I expected." Some have even fallen asleep during the procedure. The reputation root canals have from decades past simply doesn't match the reality of modern dentistry. If you need one, please don't let fear stop you — your tooth is worth saving.
Need Root Canal Therapy?
Dr. Muller and the team are here to help. Book an appointment at our St. John's office.